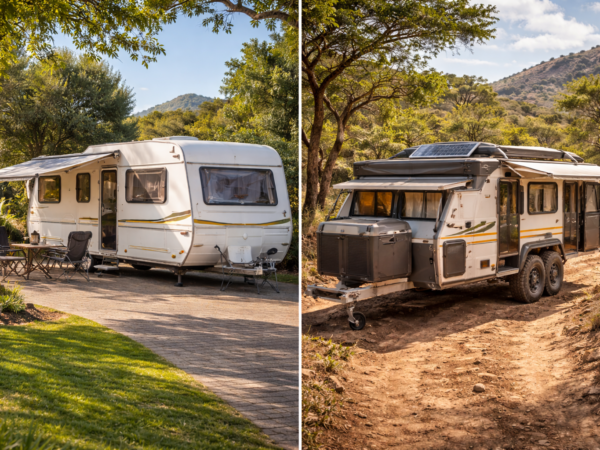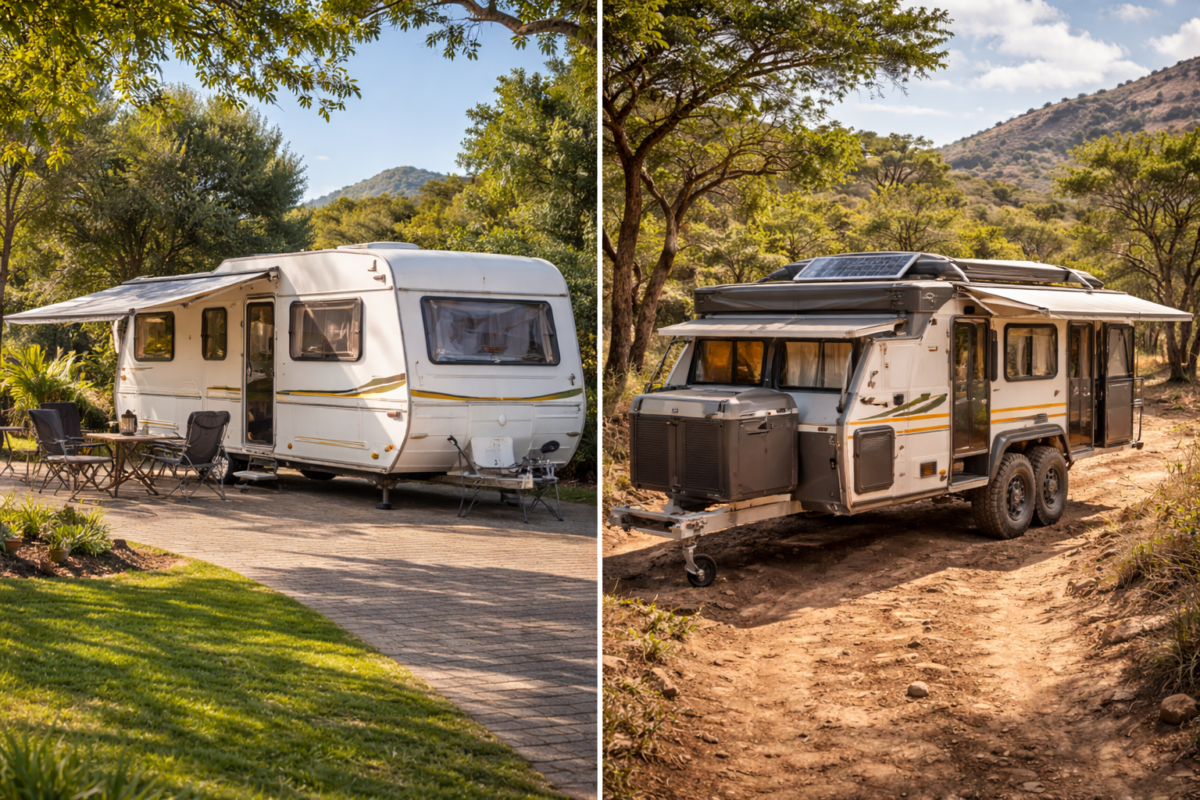
Solar panels on a caravan change the game. Instead of relying on campsite power or running your battery flat in two days, you can camp off-grid for as long as the sun shines. And in South Africa, the sun shines a lot.
Here’s how to set up solar on your caravan without overcomplicating it.
Why Solar?
A caravan solar setup lets you:
- Camp at sites without electrical hookups
- Keep your leisure battery charged while you’re parked
- Run lights, the water pump, a 12V fridge, and charge phones without worrying
- Extend your camping trips without needing to find power
You won’t run your air conditioner or microwave off solar (those need 220V mains power), but for normal 12V camping needs, solar is more than enough.
The Basic Components
A caravan solar setup has four main parts:
1. Solar Panel
The panel sits on your roof or on a portable stand and converts sunlight into electrical energy.
Types:
- Monocrystalline are the most efficient and compact. Best for roof mounting where space is limited.
- Polycrystalline are slightly cheaper but less efficient per square metre.
- Flexible panels conform to curved roofs but don’t last as long as rigid panels.
Size: For a typical caravan running lights, a water pump, and charging phones, a 100W-200W panel is a good starting point. If you want to run a compressor fridge or more devices, go 200W-300W.
2. Charge Controller
The charge controller sits between the panel and the battery. It regulates the voltage and current from the panel to prevent overcharging the battery.
Types:
- PWM (Pulse Width Modulation): Cheaper, simpler, works fine for basic setups.
- MPPT (Maximum Power Point Tracking): More expensive but up to 30% more efficient. Worth it if you’re running a larger system.
For a 100W-200W setup, a 20A PWM controller is fine. For 200W+, consider an MPPT.
3. Leisure Battery
The battery stores the energy from the solar panel for use at night and on cloudy days.
Types:
- Lead-acid (flooded): Cheapest option, requires ventilation and periodic topping up with distilled water.
- AGM (Absorbed Glass Mat): Maintenance-free, sealed, handles vibration well. The most popular choice for caravans.
- Lithium (LiFePO4): Lightest, longest lifespan, deepest discharge. But 3-4x the price of AGM.
Size: A 100Ah AGM battery paired with a 100W-200W panel will comfortably run lights, a water pump, and phone chargers for a weekend without mains power. A compressor fridge adds significant draw and may need a larger battery or panel.
4. Wiring and Fuses
The wiring connects everything together. Use the correct gauge wire for the current involved, and fuse every connection properly.
Sizing Your System
Here’s a simple way to figure out what you need:
Step 1: List Your Devices
| Device | Watts | Hours per Day | Watt-Hours |
|---|---|---|---|
| LED lights (4x) | 20W total | 5 hours | 100 Wh |
| Water pump | 40W | 0.5 hours | 20 Wh |
| Phone chargers (2x) | 20W total | 3 hours | 60 Wh |
| 12V compressor fridge | 40W average | 12 hours | 480 Wh |
| Total | 660 Wh |
Step 2: Size the Battery
You don’t want to drain a lead-acid or AGM battery below 50% regularly (it shortens its life). So for 660 Wh of daily use, you need at least 1,320 Wh of battery capacity, which is about 110 Ah at 12V.
A 100-120 Ah AGM battery would work well here.
Step 3: Size the Panel
South Africa gets roughly 5-6 peak sun hours per day on average. A 200W panel produces about 200W x 5 hours = 1,000 Wh per day, which comfortably covers 660 Wh of use with room for cloudy days.
Roof Mount vs Portable
Roof Mount
- Always in position, always charging
- No setup needed at each campsite
- Doesn’t take up floor space
- Can’t be angled to follow the sun
- Drilling holes in the roof (must be sealed properly)
Portable
- Can be angled towards the sun for maximum output
- No holes in the roof
- Can be placed in the sun while the caravan is in the shade
- Needs to be set up and packed away each time
- Can be stolen if left unattended
Many caravan owners start with a portable panel and later add a permanent roof mount.
Installation Tips
- Mount panels with proper caravan-rated adhesive or brackets, not silicone
- Use MC4 connectors for panel connections (industry standard, waterproof)
- Run cables through the roof using a waterproof cable gland
- Keep cable runs as short as possible to reduce power loss
- Mount the charge controller inside the caravan, near the battery
- Fuse the positive cable at the battery end
If you’re not confident with electrical work, have a professional do the installation. A bad solar install can damage your battery or, worse, cause a fire.
What Will It Cost?
A basic but functional setup:
| Component | Cost (Approximate) |
|---|---|
| 200W solar panel | R1,500-R3,000 |
| 20A MPPT charge controller | R800-R2,000 |
| 100Ah AGM battery | R2,000-R3,500 |
| Wiring, fuses, connectors | R300-R600 |
| Total | R4,600-R9,100 |
Lithium batteries will add significantly to the cost but last 3-4 times longer.
Need Help With Your Setup?
At Caravan Center in Vereeniging, we can advise on the right solar setup for your caravan and camping style. We also stock batteries and accessories.
Talk to us at caravancenter.co.za/contact.